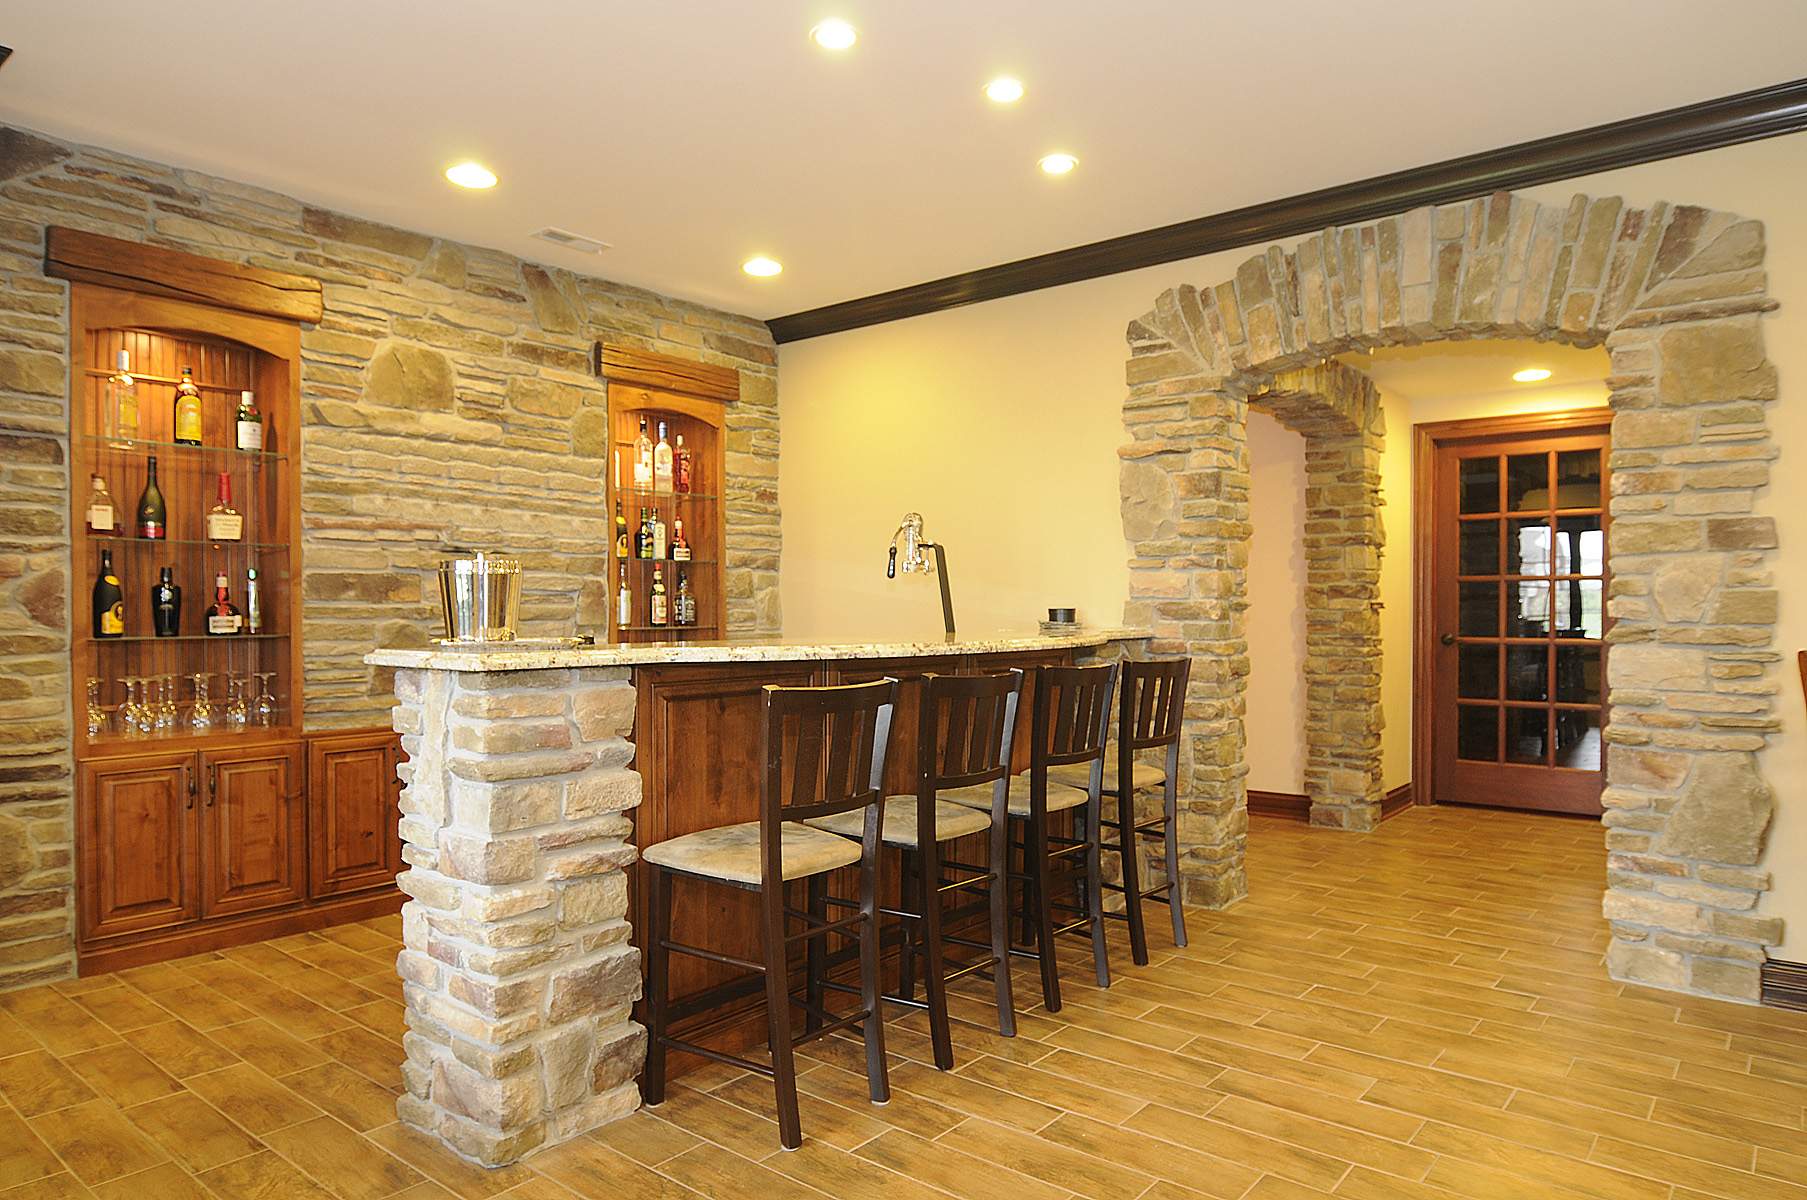
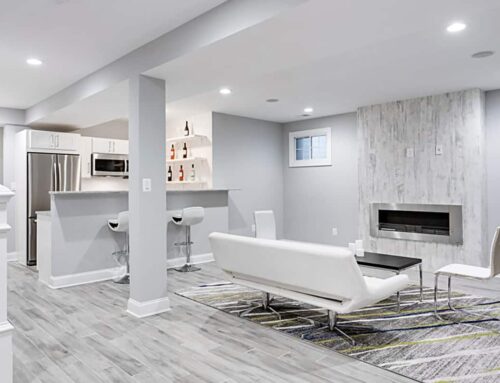
The process of basement remodeling in Oakville is a lengthy one, which you must know regardless of whether you want to DIY it or hire an expert. We discuss the stages of basement remodeling Oakville, Ontario that you need to follow when redoing your basement, in this blog.
There are 12 steps in the basement remodeling, Oakville process.
1. Design Stage
This is where it has to start without a doubt! Ideas, Ideas, Ideas – which you will convert into a brand-new, fantastic living space! But first, you need to design your new completed basement before you can start building. Your working floor plan will be assembled at this Design Stage. This floor plan will serve as your blueprint for construction. This project blueprint will prevent you from getting detracted.
2. Layout Stage
One of the project’s most crucial and significant milestones is this one. Basically, at the layout stage, all the wall lines on your floor plan will be transferred to the concrete surface. To do this, you will need your “chalk box.” Then, precisely on top of these lines, you will construct your new basement walls. Therefore, these lines must be spot-on!
3. The Frame Stage
The project’s hands-on progress officially starts at this stage. During this phase, you will construct all your framed exterior and interior walls out of a pile of 2” x 4” stud lumber. You will actually witness the project come together. During the framing stage, get ready for some sawing, nailing, and possibly some gunpowder and smoke too! Some of the coolest tools will be used for the frame project at this stage.
4. Electric Stage
It’s time to wire the project after all of your walls have been finished and framed. Electricity is simple to do! Therefore, if it intimidates you at all, don’t worry. It’s actually a lot fun and you can save your money too while at it, if you wire your lights, switches and outlets the smart way.
5. Plumbing Stage
Have you added a laundry room, wet bar, or bathroom in your basement design? At the plumbing stage, you will have to install the rough-in plumbing for these areas. The water supply line system and the drain line system also need to be installed at this stage.
6. Heating, Ventilation & Air Conditioning (HVAC) Stage
HVAC is essential for the health of your basement. The HVAC feed lines and return-air runs that supply and exhaust the heating and cooling to your newly finished sections will be installed during this phase. The HVAC work is not as hard if you have the required tools to DIY it.
7. Insulation Stage
Prior to the drywall being hung, this is the last step. At this stage, all your outside walls will be insulated. For some finished rooms, you might even be insulating a few inside walls to act as a sound barrier. Maintaining comfort and energy efficiency in your newly finished spaces requires proper insulation.
8. Drywall Stage
At the drywall stage, the basement begins to take its actual shape. After the drywall is installed, it begins to look and feel more like the living area. Framing, cables, and pipe insulation all vanish, and the rooms start to materialize! Without a doubt, this is the basement project step that requires the hardest labor work.
9. Painting Stage
When you paint your new drywall, you will then be painting your way to the finish line! At this stage, the colors of your newly installed walls, ceilings, and soffits will change. During this phase, I also paint my trim and doors before installing each of them. Prior to installation, painting the doors and trim is so much simpler. Once the trim and doors are in place, much less “cutting-in” work is left to do!
Trim Stage
After you have finished painting, it’s time to start the trim, which is the best part of the entire process. A basement project’s crown jewels are put on during trimming phase. At this stage, all trim, including base trim, chair rails, crown molding, and banister railings for stairs, is installed. During the trim stage, your basement springs to life and starts to look finished! Additionally, I prefer to install all my cabinets at this stage if I’m building a bespoke bar or kitchen area. This kind of labor is what I call trim. In addition, I’ve already set up all the tools I need for cabinetry for the other trim I’m adding.
Hardware Stage
This stage of the basement renovation is also known as the time when you add the finishing touches. As the project nears completion, components such as closet shelving, built-in bookshelf shelves, door knobs, door stops, smoke detectors, outlet and switch covers, recessed light trim rings, etc. are all installed.
Flooring Stage
This is the time when a flooring specialist will install your carpet and padding; you won’t be doing the carpeting yourself! At this point in the project, everything else has been finished completely. The job site has been thoroughly cleaned and all construction debris, tools, extra building supplies, etc. have been removed.
The Bottom Line
Instead of trying to DIY the project, if you are a first time, it’s better to hire a professional basement remodeling in Oakville company. You can reach out The Basement Company in Ontario anytime!


